Saturday, 5 September 2009
Jacob's Ladder
A little video to show you how it works :) ignore the noise, I had the tv on and forgot it would record... I may do more videos of how to makes with narration and put them on Youtube ! Good idea ?
Project number 2...Jacob's Ladder !

You will need, thick card or mount board about 2mm thick, patterned papers, 3 lengths of 1 metre long fairly thin ribbon i.e not grosgrain (this tends to be a bit too thick), pva glue, paint embellishments photographs or pictures etc and general craft tools i.e scalpel and mat etc

1. Using a sharp craft knife or scalpel and a metal ruler accurately cut 10 or 12 6cm by 6cm squares from the thick card or board. Put these pieces in pairs making sure each pair are the same size. If necessary re-cut some to make sure they are the same.
2. On one side of each square draw three lines, one along the centre and one on either side of the square parallel about 1 cm in from the edge...to make sure they are all the same line up the sqaures together and draw the lines in one go rather than measure and draw each square seperately.
3. Paint or cover the plain side of the squares leaving the drawn lines on the other side.

4. Take one square and place it covered side down, glue the first piece of ribbon along the centre right to the edge keeping it straight, then glue the other two pieces in the opposite direction on each side along the lines.

5. Take the other square from the pair and glue that down on top making sure all the edges are glued and that the ribbon has been pulled fairly taught but not too tight or too loose, sounds hard but it's not :) just firm ! If it is too loose or too tight it won't flip flop properly

6. Making sure you hold it down long enough to be secure flip the ribbons over the top keeping them straight and flat and taught put another square pattern side down on top of the ribbon and then repeat steps 5 and 6 until you get to the final piece.

sorry the ribbons should still be stretched over the blue spotted square in the pic below when you put the next square on top


7. Once you get to the last square, cut the outer ribbon pieces off before the edge to keep it neat, then cut the middle piece about 3 inches long off the edge and fold it back over before gluing the last piece on so that you can use it as a hanging tab !


 Tip, just make sure as you go along that the edges of the ribbon are matching up so it flows properly..

8. Attach pictures, words and flat embellishments UNDERNEATH the ribbon and on the squares, DO NOT GLUE THINGS TO THE RIBBON OR ON TOP OF THE RIBBON as this will stop the ladder working !


9. Have fun and I bet you want to make more than one ...I did and you can vary the sizes and number of squares but not too much as all these changes and stop it working well.

Also lease leave a comment and let me know what you think :)
Wednesday, 2 September 2009
One of three projects...

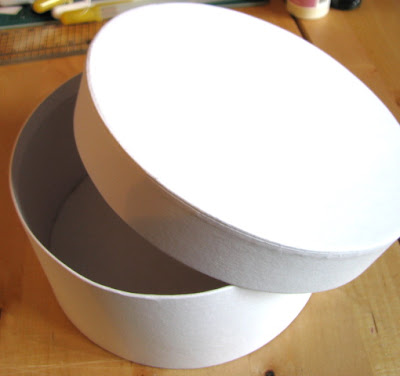
This is not really a 'how to' because it is really easy and you have probably done it all before but maybe it is more of a reminder of what you can do with a bit of paint, some craft paper and a few embellishments..decorate a plain box, cigar box, chipboard box etc you can send them to someone special or use to decorate your home and they are even practical to keep things in from domestic to nuts and bolts, hair bobbles and clips or other craft materials etc etc the possibilities are endless !


The next two projects will go up this week and the second will be 'how to' make a Jacobs ladder' now these are really fun !

Also don't forget to go over to my blog www.littlemisscrafty.blogspot.com to put your name down to win one of my new heart brooches...'wandering Princess'

Tuesday, 1 September 2009
Project problems...
I am still having problems uploading my pictures for this project, they are too big and take ages to attempt to upload before telling me they can't ! grrrrr but i am going to borrow a different camera and definitely upload them this week...I finish work early tomorrow so this is what I will be spending tomorrow afternoon doing ! please come back and check !
Subscribe to:
Comments (Atom)
